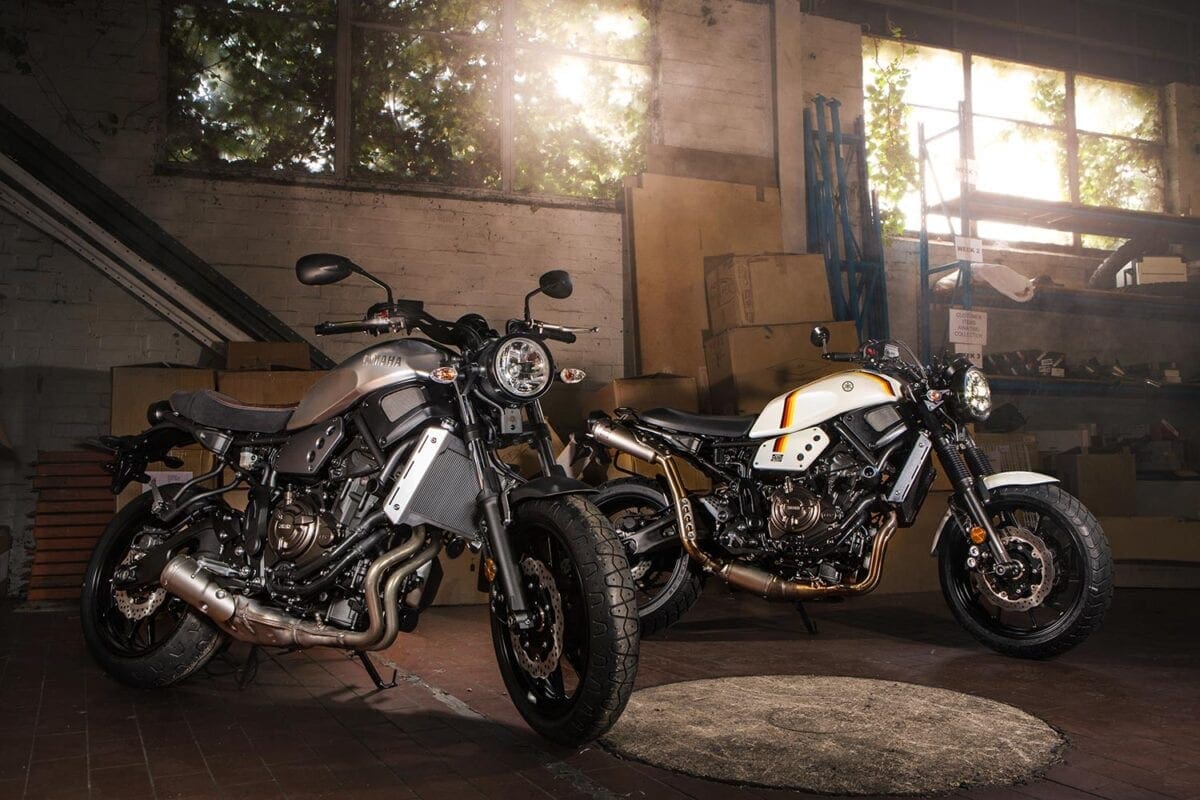
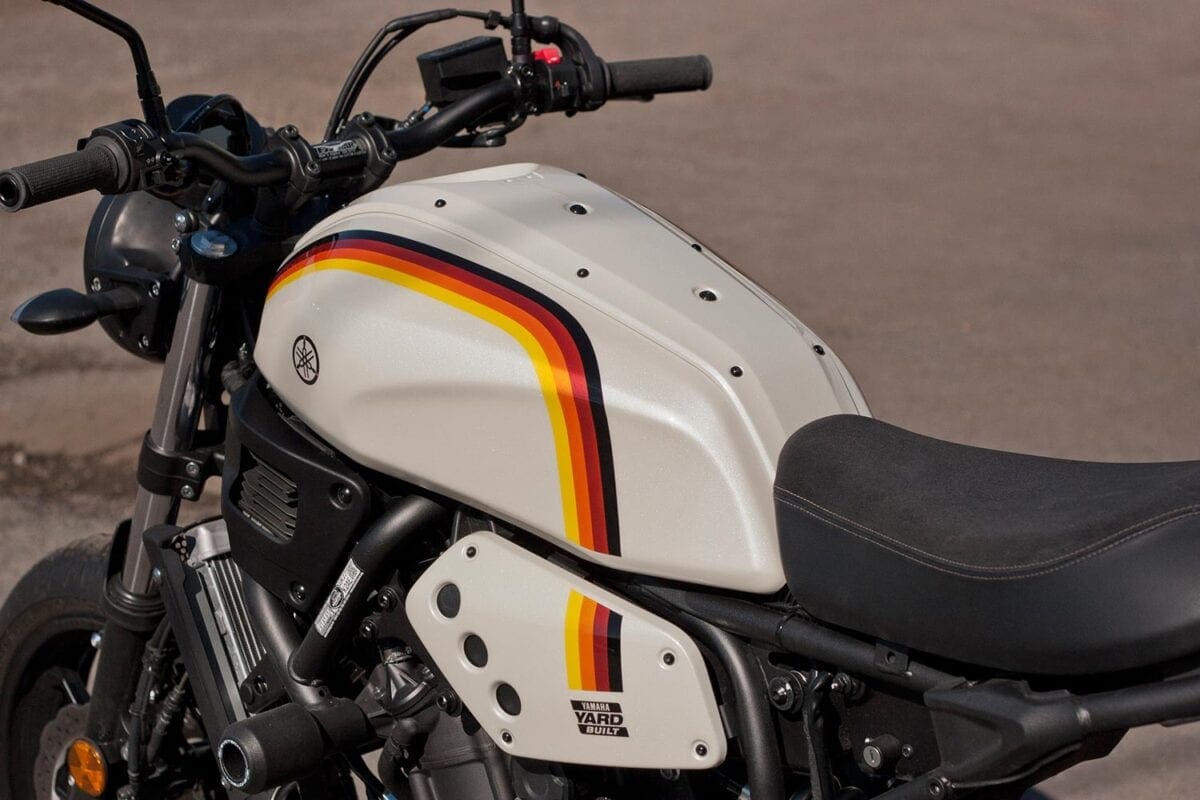
The project Yamaha’s paint is its most striking modification. It had to be perfect.
I always wanted Cada Día to look like a factory bike; I didn’t want it to scream ‘look at me, I’m custom’.
Enjoy everything MSL by reading the monthly magazine, Subscribe here.
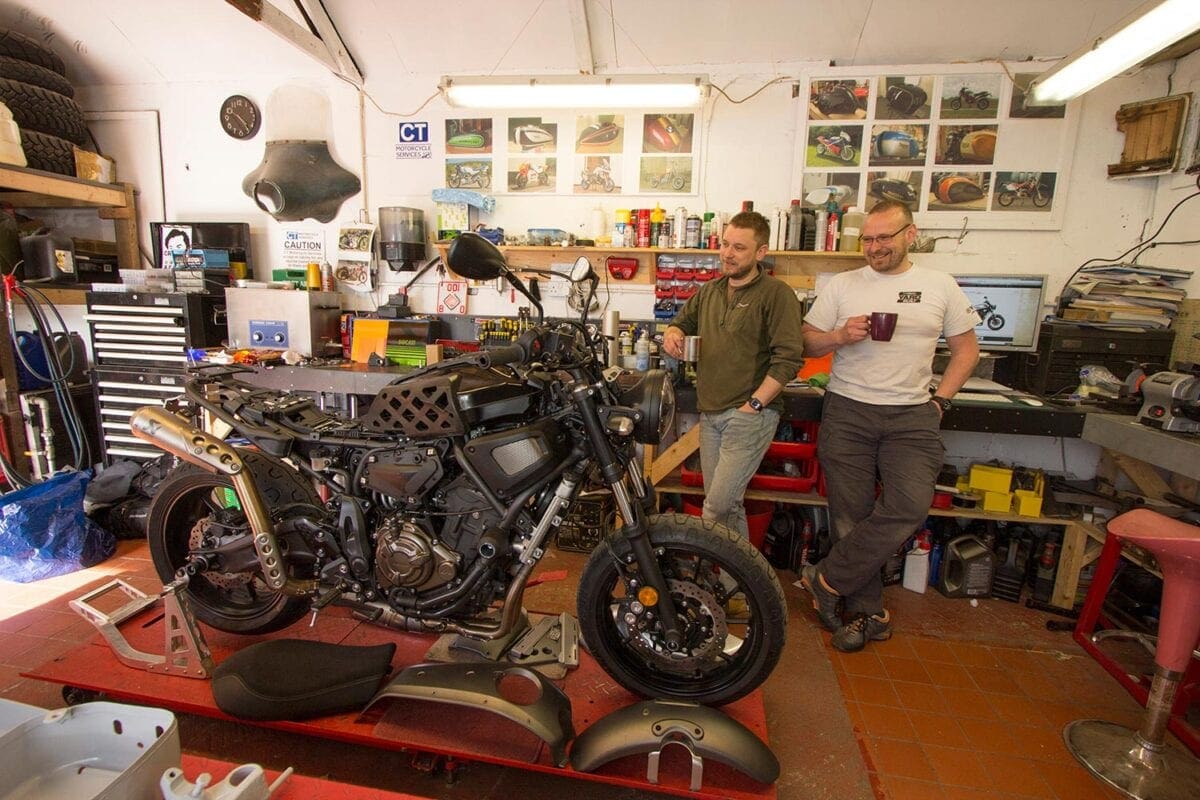
I knew that painter Chris Tunbridge (www.ctmotorcycleservices.co.uk) and I had nailed it when photographing the finished bike next to a standard XSR700 at Webbs Yamaha in Peterborough – one guy walked up, looked at both, and said “I’d wouldn’t buy that one, but I’d definitely buy that.” Not that there’s anything wrong with the standard XSR – sales are proving that – but with my off-white bike and its tidy styling next to the mix of colours and textures exhibited by the silver original, they look surprisingly different.
I had an idea of what I wanted when I took the bike to Chris’ Maidstone workshop, and while we spent a couple of hours experimenting with ideas (after Chris had finished laughing at my terrible sketch), the final design maintained the colour scheme that I’d based on the Yamaha Yard Built logo (not the German football strip). We toyed with ‘Speed Block’ designs and LC-style swoops, but when Chris laid the tape on, running down onto the side panels, we both knew he had it.
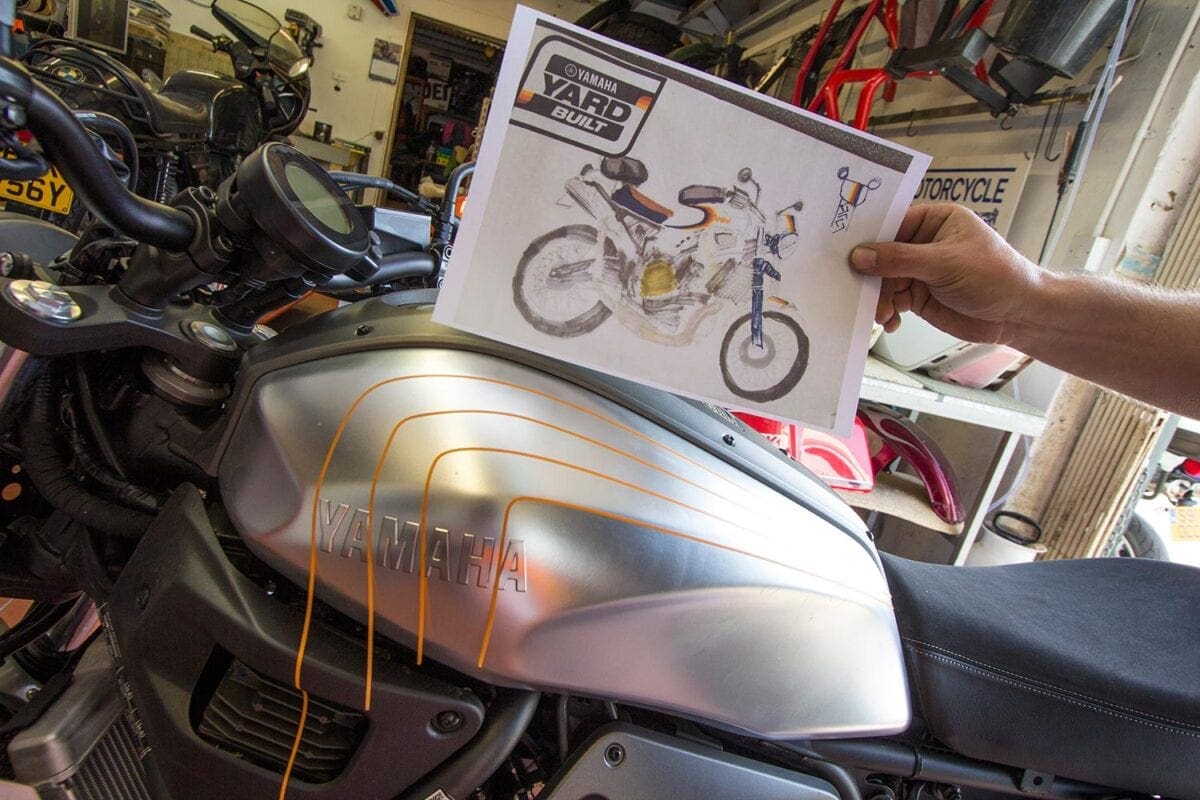
We looked at many styling modifications, including chopping the front mudguard, but for the same reason I fitted the Pyramid Plastics hugger, this bike had to remain practical. It’s clear there’s a lot that could be done to an XSR, but Chris and I had the same vision, and it was obvious this bike would be as much my project as his; “I love the way the bike looks, and really like how Yamaha has styled it,” Chris told me when I dropped it off. “I love the proportions, and think the subtle modifications like the lower bars, tail tidy and the headlight really work. Those flatter Renthal bars give it a little bit of… not hooligan, but a bit of ‘wahey!’ It’s engaging, it’s got character, and it’s refined.”
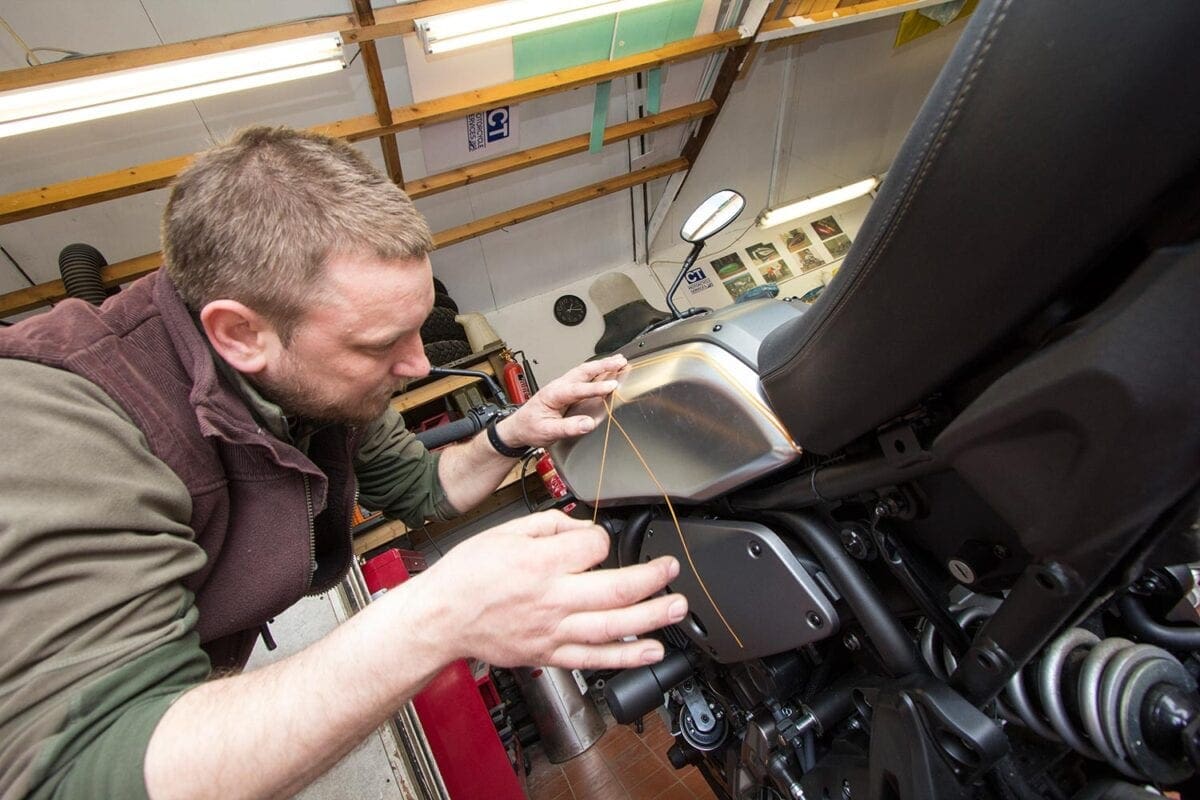
Laying the paint
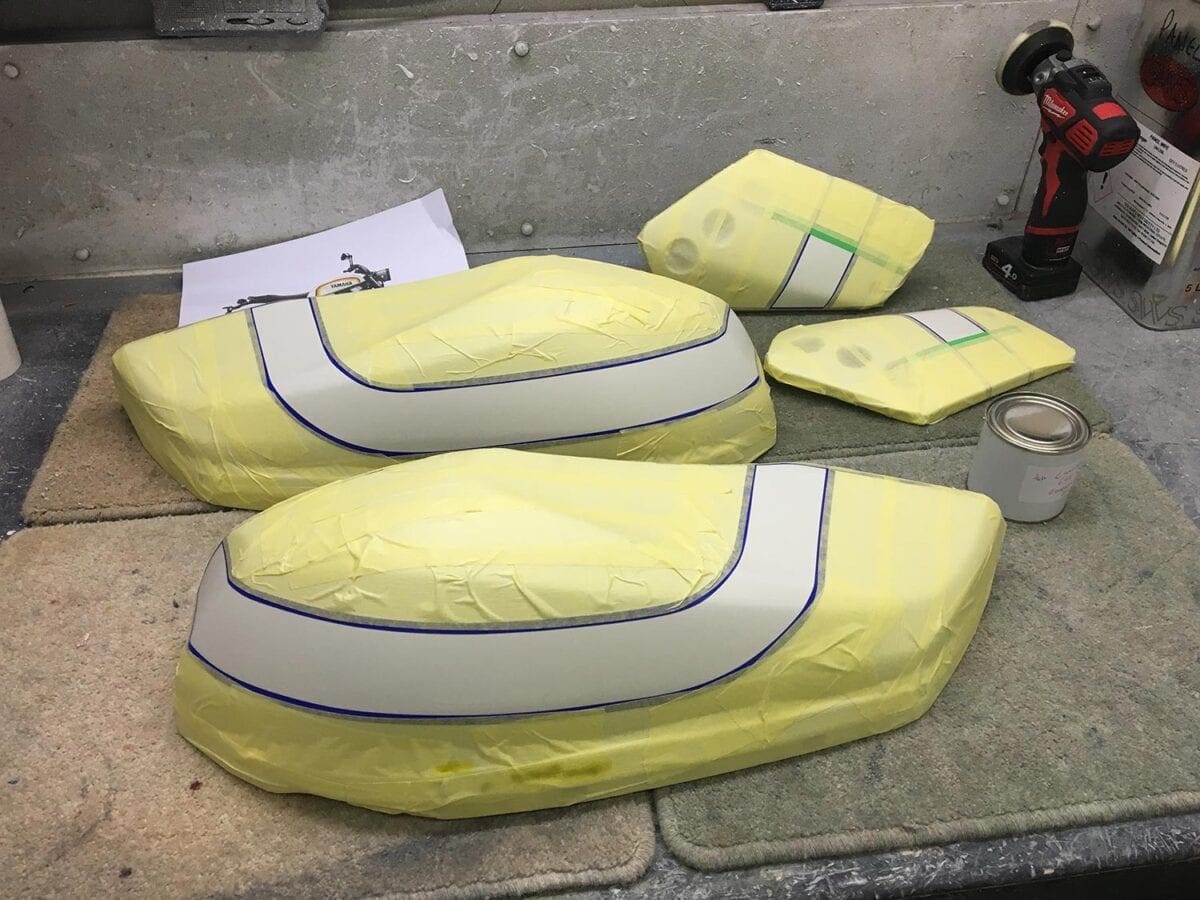
The design Chris and I settled on would prove difficult for him – each strip of paint would have to butt up to the next, which is much harder than if we’d designed keylines between each, but being a brand-new bike, there was some relief in the preparation; “My pet hate is when I agree to do some work for someone,” says Chris, “then they come along later with another panel and say ‘Could you do this while you’ve got the paint in the gun?’
“Getting the paint out of the gun is the easy part, it’s the hours of preparation, the cleaning, the primer, the base-coats – that’s what really takes the time in a job. It takes seconds to lay a coat of paint, but I’ve had a tank take eight hours just to mask! A bike can typically take about 20 hours to complete, but probably only four of five minutes are spent with a paint gun in my hand.
“The XSR’s plastic panels were fairly easy to prep, just needing cleaning and degreasing, keying with grey Scotch-Brite, then a fine primer, which I flatted off very gently with 600-grit. Once cleaned again, it meant the mudguard, tail, hugger, side panels and top of the tank were relatively quick as there were no scratches, nicks or cracks to deal with.
“As lovely looking as the tank’s brushed-aluminium side panels were, their surface was cratered and orange-peeled – they needed flatting down with a coarse abrasive, then etch primed. Then they had a large dose of high-build primer and a guide-coat [a dusting of black] to see any remaining imperfections. Finally they were flatted down and ready to start working on.
“I knew the bike needed to be an off-white as soon as you showed me the colours – they’d be too brash on pure white. I had to make it quite a ‘dirty’ white – if it had gone too creamy it’d look yellow.
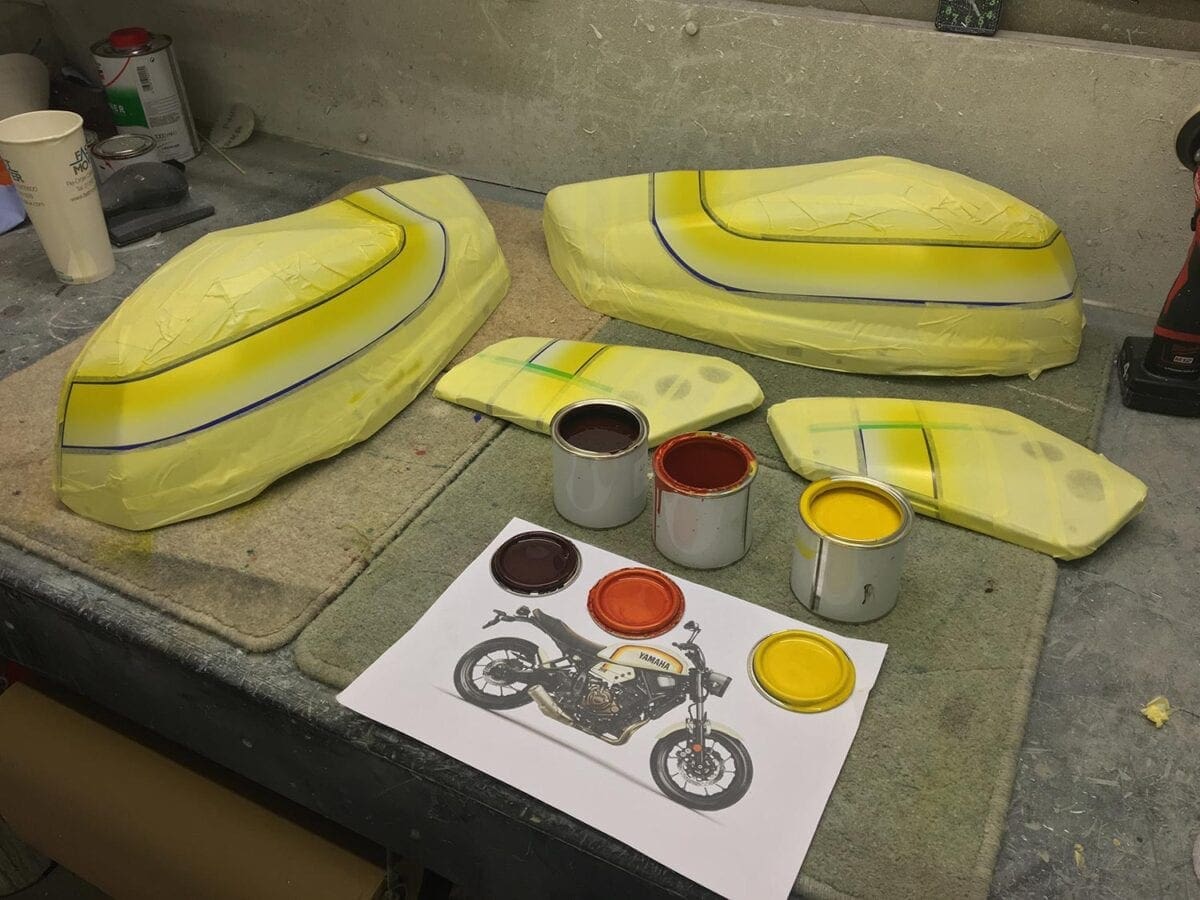
“The panels were first painted a flat, off-white base coat. They were then painted in the flat cream colour I mixed specially, then followed by two coats of Mercedes Metallic White – it looks like white pump-soap in the tin, and allows the colour underneath to show through.
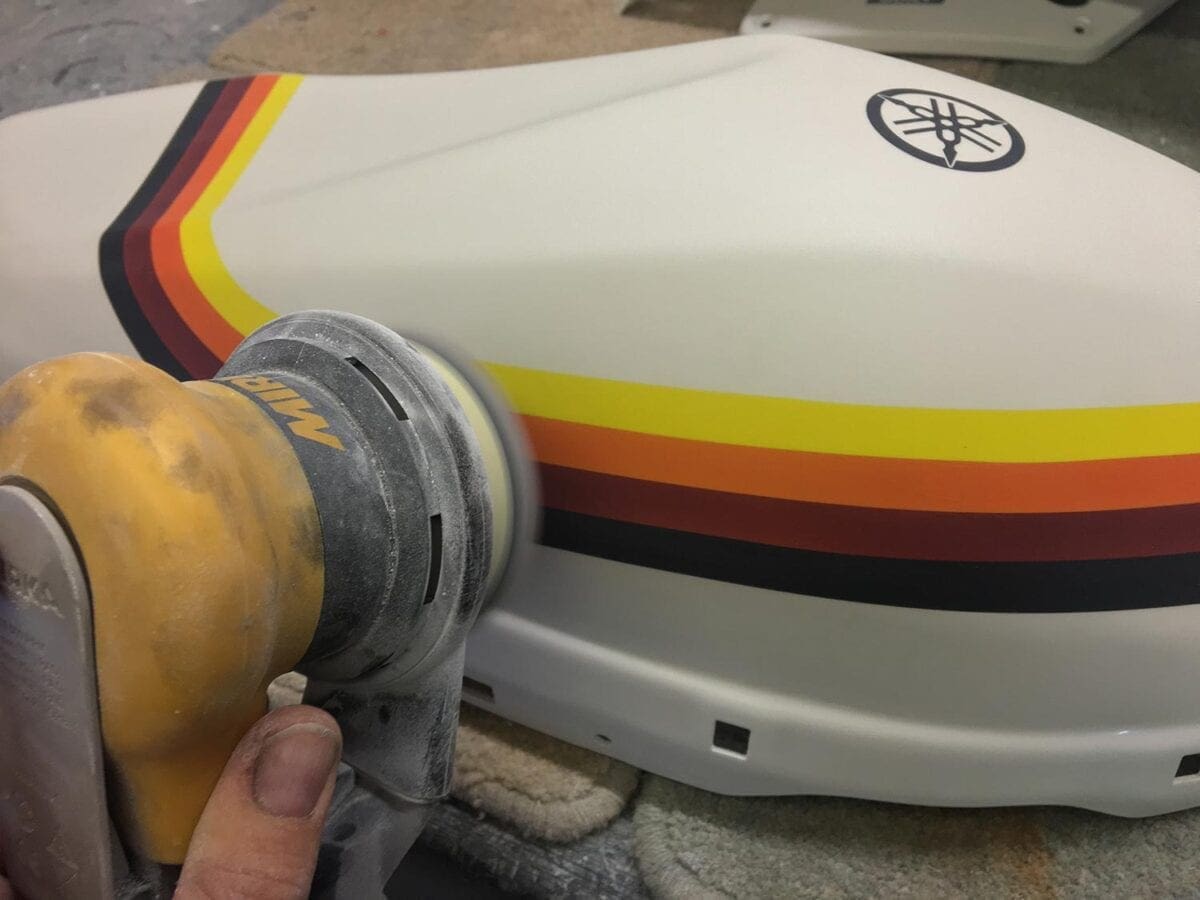
“When all that had gone off, I sprayed a clear-coat with one-percent liquid Xirallic [tiny flakes of aluminium oxide covered in titanium oxide for a fine glitter effect] and a thumbnail’s worth of crushed pearl-effect powder. After that, the colours went on, laid over each other, and finally the black before another, crystal-clear lacquer.
“Usually, the Xirallic goes in the final clear-coat, so everything gets a coat of metallic. In this case, I wanted the black stripe to not have any metallic, as it would lose contrast, so had to clear-coat the off-white base before laying down the colours – which bar the black had their own metallic in – and lacquering again. The XSR got two coats of primer and ten separate coats of paint and clear-coat – I’m very proud of this job.”
A change of heart
As we were planning the paint scheme, we’d settled on a large ‘Yamaha’ logo across the tank, but that was to change. Chris and I would talk almost daily using video calls on the phone, with us both discussing other ideas for various parts and tweaks. I’d roughed-up some visuals of the style in Photoshop, and in the end we switched to the tuning fork logo; “When I laid the logo out on the panels, it looked fine on the convex part of the tank,” said Chris, “but when it went concave, at any angle other than side-on the logo looked bent.”
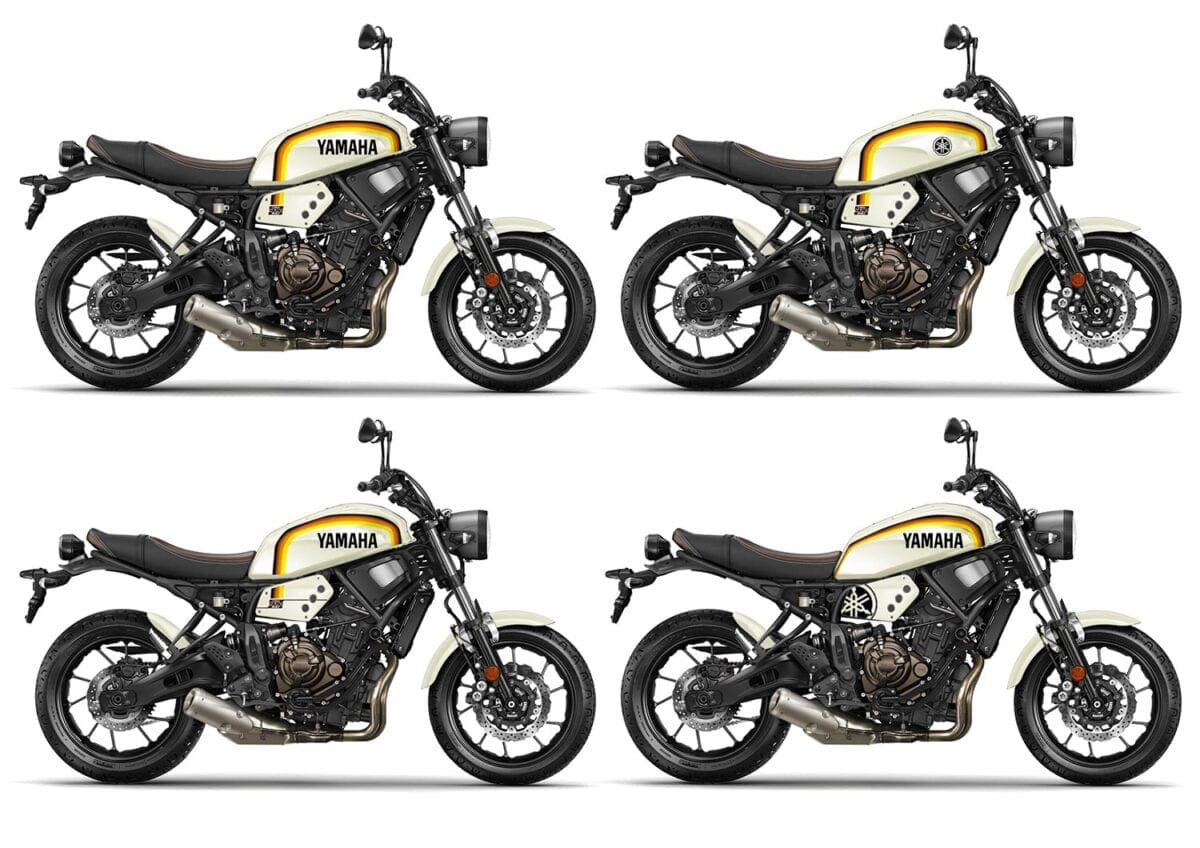
The finished job is nothing short of stunning. This £750 paint job has a deep, sparkling shine that you can judge yourself at Motorcycle Live this November at the NEC; it’s bought a continuity and style to a machine so clearly created as a good-value canvas for riders. Chris tells me as I load the bike onto my trailer before heading home “When I paint a modern bike that’s not a full-on custom, I try to make it look like it could be a factory special – like it could have been a development bike.
“I don’t paint engine parts the same as the tank, the calipers red or the fork lowers blue; it’s too much. I often talk customers into restraint… it’s less work, so less money, but I want the bike to look right. The dark art is knowing when to stop.”
We decided not to paint the hugger off-white, or the wheels. We wanted something that would grab attention, but that would look like it could have rolled out of Yamaha’s Iwata factory. I think we did it.
Blacked-out forks
I’d always wanted gaiters on the XSR’s forks. I’d like to say it was to protect the sliders, but to be honest it was because they look cool.
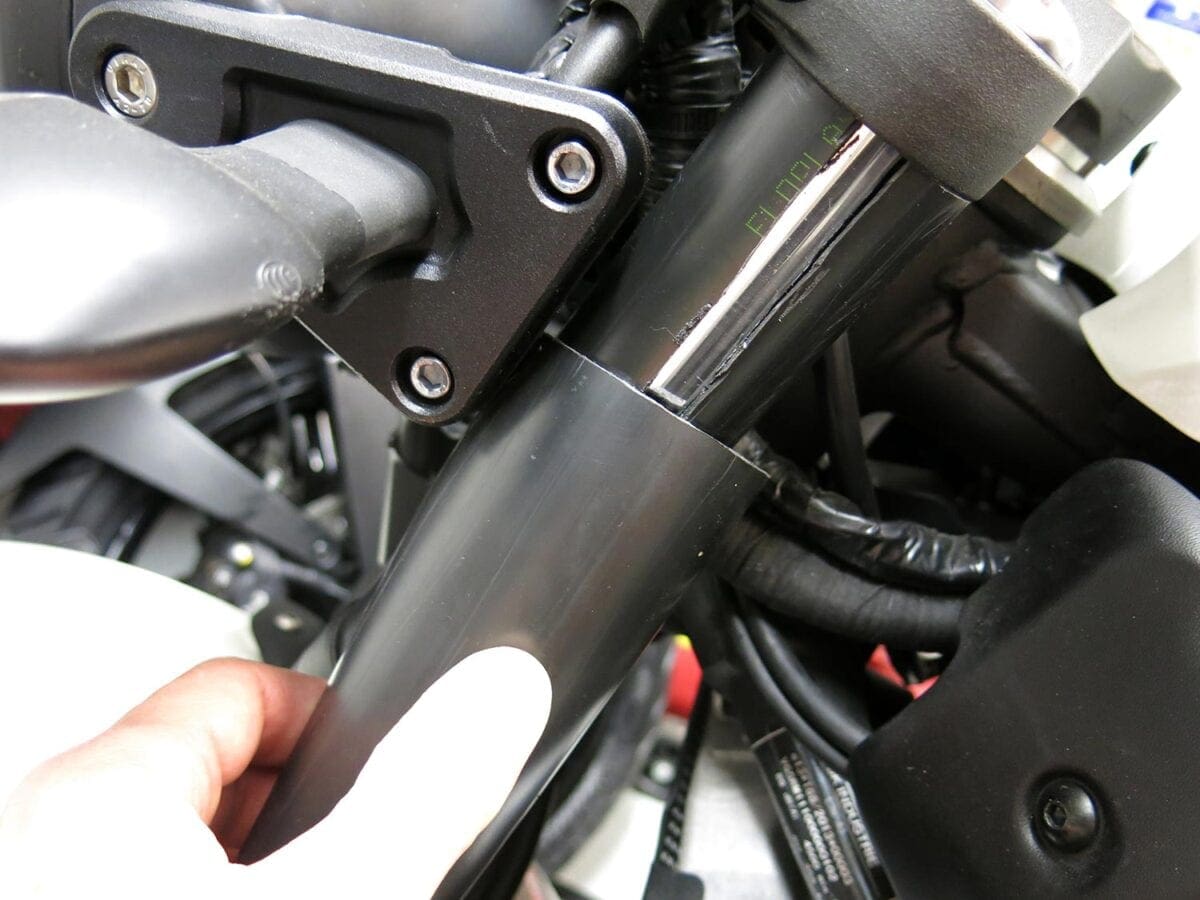
There are plenty available on eBay, but I wanted to make sure they’d fit and bellow without buckling, so went for the £36.99 Yamaha parts. But the remaining chrome at the top of the forks just didn’t look right. The Anniversary Edition XSR700 has black-chrome forks, or the MT-07 has plastic sleeves at the top.
My XSR has £4.39 40mm black waste pipe from Screwfix. Cut to size, then split down the length, it snaps over the top of the forks to black them out, creating a more balanced look. With the split turned towards the headstock it can’t be seen, and I found that by putting a second piece over each side, the diameter matched that of the fork lowers, giving a really distinctive and beefier look to the front-end. Sure, it serves no handling purpose, but it balances against the other tweaks to create an overall package that I’m really pleased with.
Sorting the sides
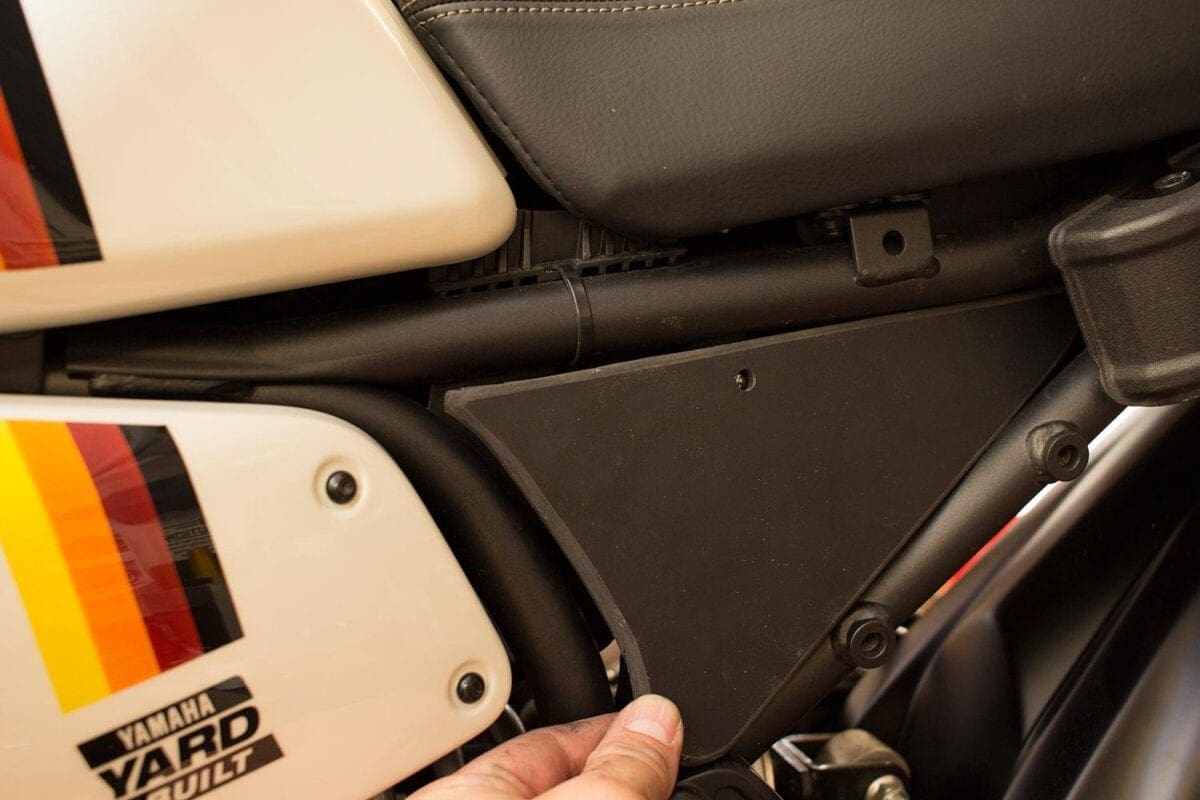
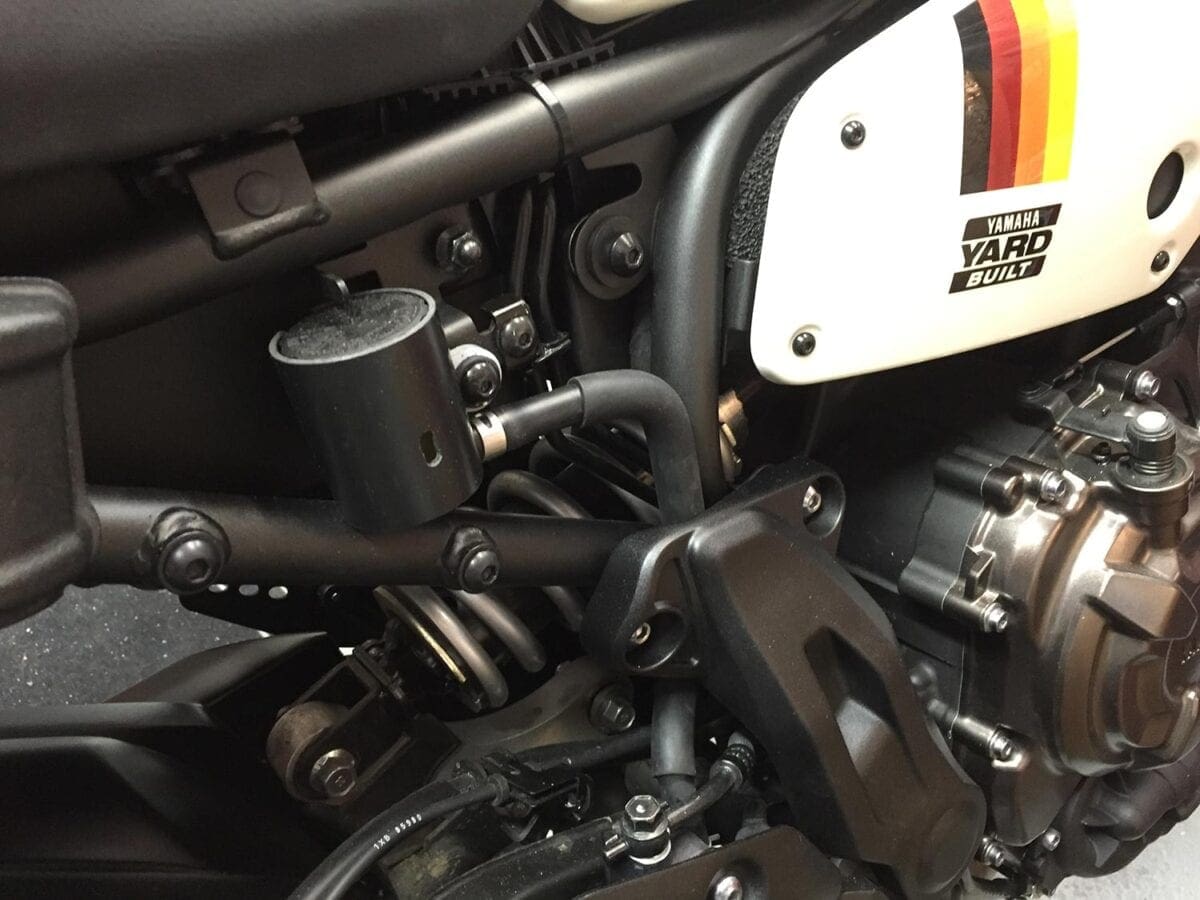
The area beneath the seat looks untidy on the XSR, thanks to the brake reservoir, ABS pipes and cables on the right, and another pair of cable bunches on the left. Chris came up with an idea to use black Foamex board to create infill panels, which looked good on the left, but when I got home and tried on the right, proved unhelpful.
Yamaha rightly insists that Yard Built bikes cannot have any part of the frame cut or welded, and while it would have been easy to move the brake reservoir, its bracket is welded to the frame. After experimenting with many different designs of panel that could run around the bracket I gave up.
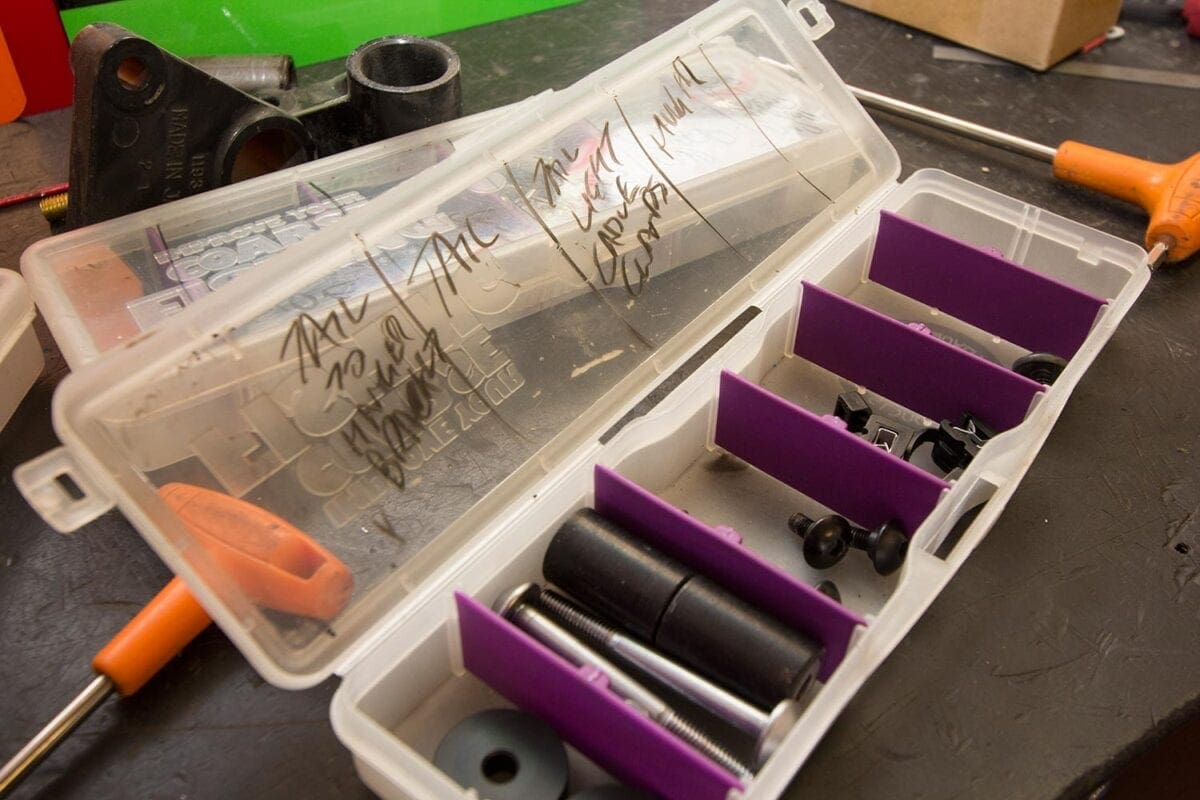
The solution proved much more simple, if not in execution. By removing the battery box and the tank, I could drop the back of the air-box down. From there I was able to run the offending cables ahead of the air-box mounting bolts and hide them behind the frame. The right was easy, while on the left there was just enough slack in the cable to reach.
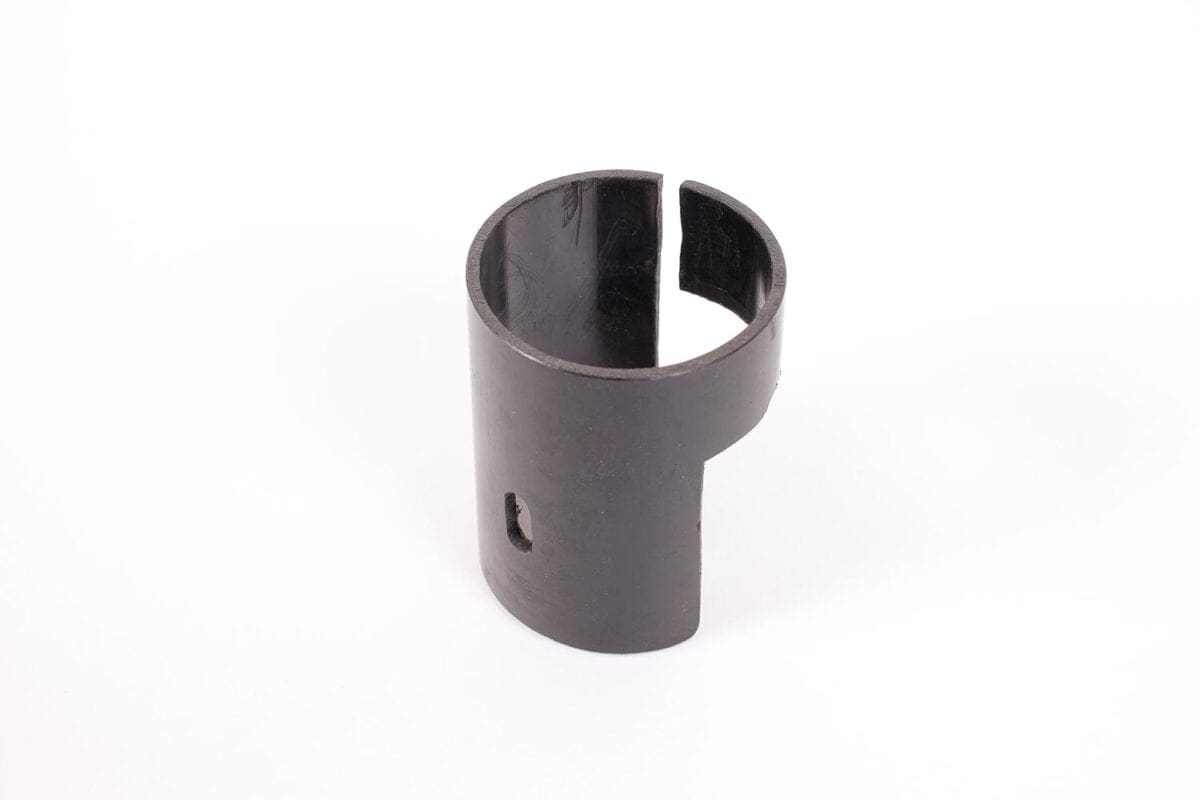
A plain black brake reservoir would have tidied up the right, but with costs getting so high I tried making a cover out of 40mm waste pipe… and it worked.
Motorcycle Sport & Leisure magazine is the original and best bike mag. Established in 1962, you can pick up a copy in all good newsagents & supermarkets, or online…
[su_button url=”http://www.classicmagazines.co.uk/issue/MSL” target=”blank” style=”glass”]Buy a digital or print edition[/su_button] [su_button url=”http://www.classicmagazines.co.uk/subscription/MSL/motorcycle-sport-leisure” target=”blank” style=”glass” background=”#ef362d”]Subscribe to MSL[/su_button]


